
CLICK ON PICTURES FOR FULL VIEW
So today I took on the task of moving Smaug to a 10 gallon tank that he had come with. I noticed he was running out of places to climb in the tiny Kritter Keeper. He also was unable to stick to the sides of the plastic Kritter Keeper. Now I have read a TON of conflicting information of when to move your Gecko to a 10 gallon tank, but I figured since I have had him for almost over 2 weeks, and having him eat and poop happily, I could safely make the change. I took pictures of the whole process that I am about to share. It took me a couple of hours not including the time at the hobby store picking out plants!
So here we go!
First I got the supplies:

Here are the goodies I snatched up while I was at Michaels and Petsmart. I was able to find awesome fake plants for a cheap price!
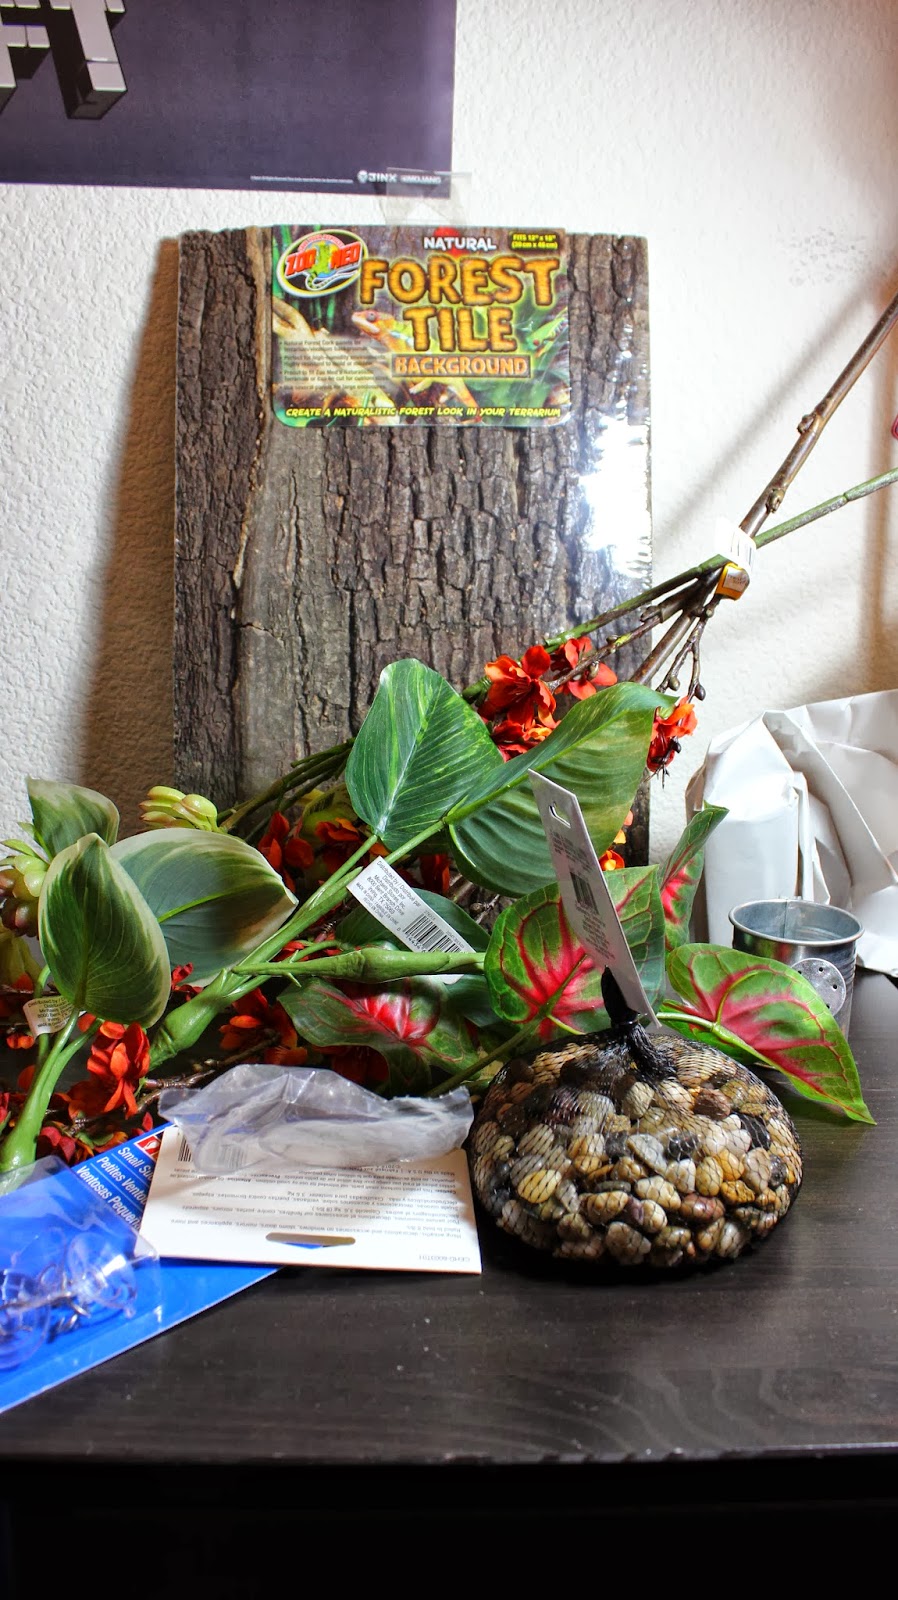
Everything but the tank here.

12 x 18


Then it was time to figure out this cork board bark backing I want to fit into my tank. My tank is 10 x 12 x 20 which the cork board is 12 x 18. So I do some modifying and score the back of the cork board after making the correct measurements.
This was not a fun part, make sure to hang the part you are trying to break off over the edge of something stable like a desk. I had to cut an extra 3/4 more of an inch off after my first 2 inches, make sure you measure well the first time!

Here is the extra pieces.

Which I ended up needing to make up to the 20" that my tank is!

So I hot glued the extra pieces on to complete my new 10 x 20 cork board! I made sure that the glue was on the back and not in the open for Smaug to eat.
The next thing I wanted to do was wash everything I had purchased. anytime you buy something that you or a pet might lick or chew on or etc, it is a good idea to give it a good wash first! I did not want to use soap in case I accidentally missed some, I don't want him to get sick. So I just ran everything under steaming hot water and used my hands to rub and wipe the surfaces free of anything that might have gotten on it.

Just making everything squeaky clean!

This was pretty cool, the watering can is fully functional, just mini! :)

And there you have it! This was only $10, and looks awesome! The rocks keep the leafs stable, and the leafs are big and sturdy for Smaug to lay out on.
It was a good thing I rinsed everything, because when I went to rinse off the cherry blossom branch, a lot of the red dye came pouring off. I rinsed it until the water ran clean, making sure to rub the flowers and hang it out to dry. If I had just sprayed water on it, Smaug would have ingested the dyes.

After all of this it was time to set the tank up. Take your time to figure out how everything will be set. It is less stressful for your Cresty if you don't keep moving it's habitat around. Here I taped the back of the cork board to the back glass wall. Although it seems the tape isn't holding it super tight, so I have some Velcro I will install in the next couple of days so that Smaug cannot fit behind the board. I am keeping the paper towel substrate for a couple of weeks to watch for fresh poop.
And here it is complete!! (click pics)


Smaug seems very very very happy!!


 Psst, I think there is a Cresty here...
I have a couple videos I will try to load up here of the terrarium!
Click here for the introduction to the Lair!
Click here for Smaug's first impression
If you have questions, please don't hesitate to ask, or let me know if you have some helpful advice!
Thanks for stopping by!! :)
No comments:
Post a Comment